03/12/17
I made up a pair of Fowler-style cylinder covers on the lathe from
aluminium. These will be glued to the cylinder heads with JB Weld after
painting.
The tender frame has been painted and given a satin clearcoat. A lot of time for a small job but it looks that much better.
The
base of the new water hatch needed to be disguised with some real coal.
I ended up gluing the coal over the whole thing to match the exact
size, colour and texture of all the coal load.
I used outdoor PVA so it won't turn white if the loco gets caught in the rain.
The front bulkhead of the tender was given some "coal dust" weathering effects around the shoveling plate.
To hold the coal load at the right angle, some coffee stirrers were glued underneath to prop it up.
Most of the black paint was removed from the buffer with thinner, leaving some behind as grimy weathering. A grimy silver colour was also painted on the shaft behind the buffer face. Normally I'd blacken the coupling hook by heating it to glowing red and quenching it in oil, but the buffer was cast with the hook embedded in the whitemetal, so I can't remove it. Fortunately being at the rear, it's not very noticeable. The front coupling hook turned out to be loose in the casting, so I was able to remove and blacken it. That's good because it's far more visible, up front.
More coffee sticks were chopped up for the rear platform planking, as per the prototype Fowler tenders.

05/12/17
When I went to fit the fall plate between loco and tender, I found it
was far too long. Here, the loco & tender are coupled as far apart
as possible, and even then, the overlength of the fall plate stops the
tender from moving enough to go around curves with the loco.
I've no clue how this could've happened with otherwise nicely fitting
parts. I've never heard of anyone else havng this issue, and the instructions don't mention arcing the plate either. This is
as standard.
Needless to say, the fall plate will be trimmed to
fit. A quick job but it's fucking annoying as I've already painted it, and will
most likely have to strip and redo it.
Gave him the money, and Dad
picked up this Mapp type torch for me while he was out today. On
special at Supercheap Auto for $65, down from $100 due to some new model coming
out.
The boiler parts (and some brass to practice this new 45% solder on) were put into a citric acid solution to clean them.
Even so, the boiler parts had the joint areas gone over with some sandpaper first.
A test with the new torch and the 45% silver solder went well enough to warrant jumping into the job.
A hearth was made from firebricks and hebel.
It was a mistake trying to solder the boiler standing up; the tubeplate
soon started falling into the barrel. Some careful prodding with a pick
through the bush hole straightened it out and it was left to cool.
A new hearth arrangement proved much better.
I dragged Dad into helping me, to hold the smaller butane torch on the
work area to try and offset the heat loss via conduction. I held the
mapp torch and applied the solder and re-fluxed where necessary.
An hour later, the soldering was done - aside from the bushes on order from Roundhouse..
After leaving the boiler to cool for a while, it was placed back into the citric bath to pickle overnight.
Will see how it looks and fill it with water in the morning..
06/12/17
The boiler after pickling overnight. Looks ok so far..
Unlike the Roundhouse Billy boiler I'd looked at for reference, I realised the
standard Fowler boiler has a steam turret at the rear end so I'll have
to machine one from bronze..
Not entirely happy with these joints myself but I'll leave it to the boiler inspector and the eventual hydro test..
Looks alright. I've decided to fit the safety valve in the cab, as standard. There's no way I could hide it in the steam dome.
09/12/17
The new worksplates have arrived, and all plates have been de-oxidised with a wire brush prior to paint.
I
can't remember if I primed Baron's nameplates when I fitted them a few
years back, so I went straight to paint as primer might show up around
the edges of the lettering. Worst case if the paint doesn't stay on, I
strip it in thinners and redo it.
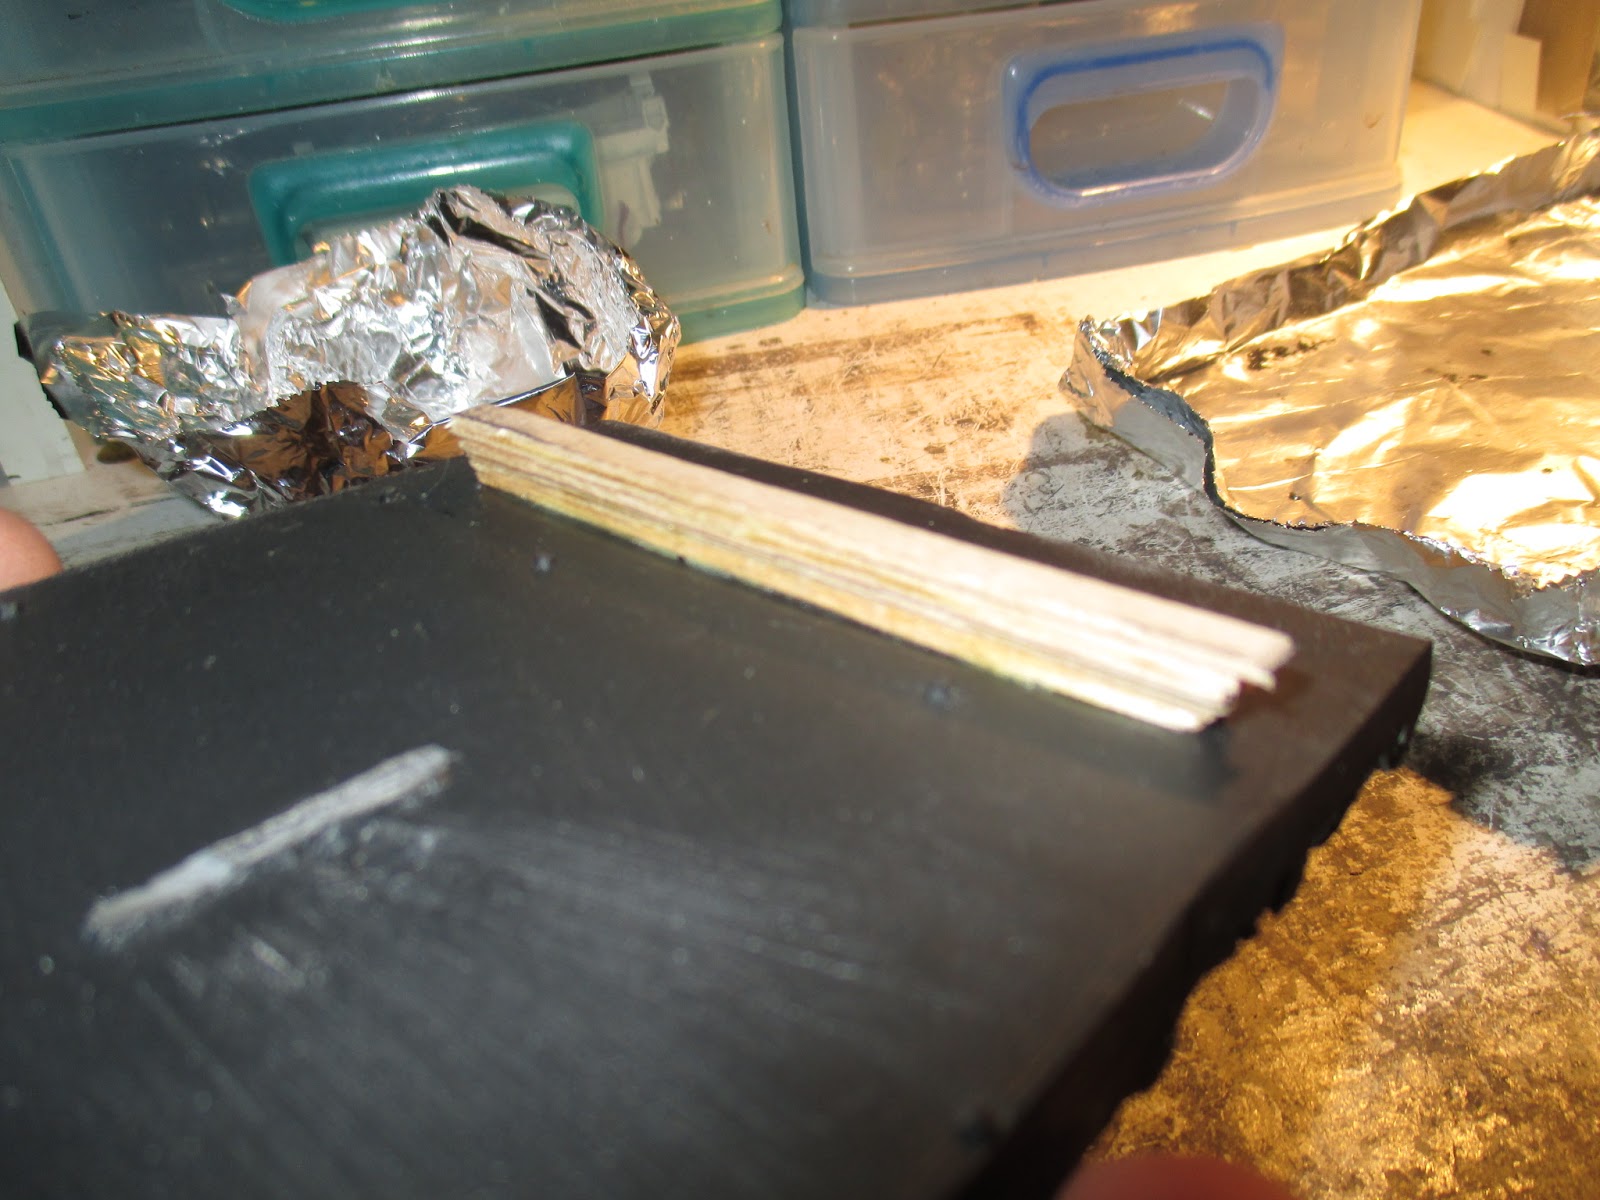
Found a toolbox big enough to fit the loco and tender in. At $50 it wasn't cheap..
The
box needs this tray insert to close properly, but with the insert,
inserted, there's not enough space for the loco's transport cradle.
Some time with the blowtorch-heated knife solved this issue. The remaining ring of the tray were glued permanently in place.
10/12/17
The transport cradle for the loco is done. Made mostly from scrap but
should be fine. The brackets with holes are for mini bungee straps to
hook onto, and hold the loco secure. I've yet to add a strip down the middle to keep the loco and tender straight when storign or removing the loco.
There's some extra space in the box..
..which could be used for tools.
The handle is offset to compensate for the heavier loco end.
A removeable "wall" separates the tool section from the loco. Can't have tools moving about and fucking up my nice paint..
02/01/18
Look what finally arrived! Fuck yeah.
One Fowler Boiler Kit, minus the boiler itself and a couple other minor bits.
Unsurprisingly for some, I went with the Pommy-style smokebox. I kept
the tapered Fowler chimney, though. I forgot that the dart for this
smokebox is a separate item, and it's not worth the hassle and expense
of another order just for the dart from Roundhouse, so I'll just machine
one myself.
Some
other parts for the project. The bushes on the bottom right are for the
boiler. For what those cost I might as well just buy them.
The regulator handle is for my mate Anthony. I borrowed one of his and it ended up fitted to my other loco, Baron. That was at least a year ago.. Sorry buddy.
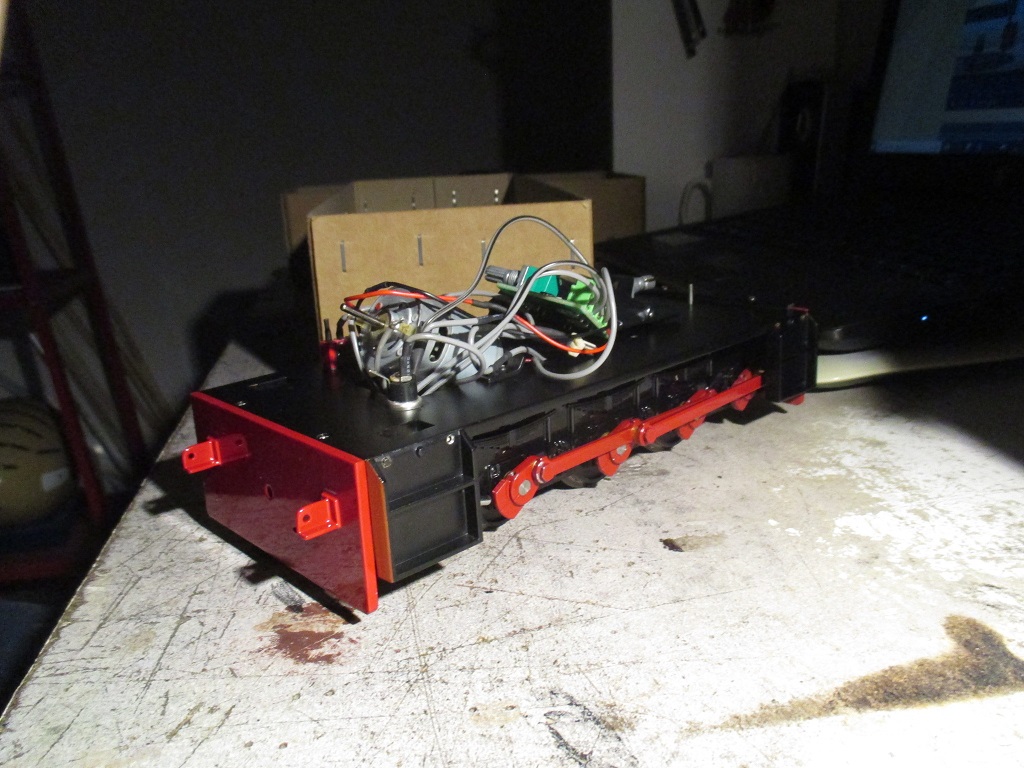
With
the steam pipe from the boiler kit fitted I was finally able to test
the chassis on air and start working on the timing properly. I think
it's retarded, the steam pipe should come with the chassis so you can
get it running on air before you buy the other parts.
It's
still not perfect, but it's the best I can do at this stage, it needs to
bed in before I can set it better. Even still, the timing will need
further tweaking when it's under steam. Steam engines run differently on
steam than they do on air.
As
I was making my own boiler (and therefore steam turret), I had to
rethread the regulator valve because I don't have the right die (I think
it's 3/16 X 40tpi) to make the male fitting for the turret to regulator
connection. I rethreaded it to M5, using the lathe so it's prefectly straight.
M5 turned out to be a little loose and needing thread tape to seal properly on the turret. I should've drilled the regulator out and threaded it M6, and made the turret to match.
03/01/18
The standard Darjeeling headlamp bracket isn't what I want so I folded
one up from a peice of scrap brass and drilled it for a mounting screw.
I'll soft solder the bracket to the smokebox, hopefully it'll hold up
to the heat. If not, I'll have to stick it with the hi-temp superglue..
The
turret body was machined from bronze, and the regulator fitting from
brass. The reg fitting was threaded into the turret so it wouldn't fall
out while soldering.
The turret was machined to fit the safety valve bush on top.
The bush was also machined slightly, to make room for a fillet of solder insde the turret.
The 8BA threaded handrail knob holes on the smokebox were drilled out and tapped M3..
The
steam turret was silver soldered together with 15% silver solder, then with Dad's help again,
soldered into the boiler along with the dome bush, whose hole was
dremeled out to fit beforehand. There turned out to be loads of the 45%
solder left, so we fixed those suspect-looking areas on the tubeplates.
There
are two small spots around the dome bush that look like it could use
some flux and a quick reheat but for the trouble it would be to set up
the hearth and do it, I think I'll just get it hydro tested and see
where we go from there.
I've
read a few stories of people getting clogged gas jets with brand new
gas systems. The cause is soldering/flux residue in the gas tank.
So for (relative) peace of mind, the gas valve was removed with this
modified screwdriver (Don't want or need the luxury of a Roundhouse
Multi Tool).
The tank was then filled with vinegar, left overnight, and thoroughly flushed with water.
To dry it internally, I half-filled it with alcohol, and blew it all out with compressed air.
04/01/18
When I went to drain the compressor after blowing out the gas tank, I
realised I may as well set the chassis running on air to start bedding
it in.
The
knocking is caused by the inconsistent valve events. Once it's worn in a
little, I can readjust to even things out and the knocking will go
away.
The
headlight was tinned with soft solder as per the rear headlight. This
time, I made the mistake of pickling it in citric acid, as I usually do after soldering things. This turned the
solder a dull dark grey.
Polishing wouldn't restore it, so I
reheated the headlight with the small torch and reapplied flux to the
hot solder. This brought it back to it's usual shine. I'll clean off the
flux residue manually with meths, I think that's what I did last time,
can't remember..
Those
holes in the smokebox I drilled out and tapped M3, had spare brass
screws loctited in, then cut off and smoothed out with the dremel. After
painting they should be invisible.
05/01/18
Goddamn, I'm almost 2 months behind on updating this build log. Time to get that sorted..
With the bushes soldered into the boiler, I was able to start working
out where the cab fittings will go, considering I've moved the reverser
to the RH side.
Note the awful mashup of fiber washers and o-rings to seal the regulator body against the steam turret.
I forgot to machine a nice wide flange on the male threaded part of the turret, to allow the regulator to seal easily.
I later made up a 3mm thick brass washer to act as a flange.
The
lubricator looks nice painted up, but the paint was later damaged by
the blowtorch when I had to re-anneal the steam pipe to fit in the cab.
I
decided I didn't want to use the drain plug on the lubricator as it
makes a mess, and so I could hide it away from the cab doorway where it
usually is, on a bog standard Fowler.
Headlight
bracket soldered onto the smokebox with soft solder. A couple of dummy
rivets needed to be ground off first. I really hope the solder doesn't
melt..
31/01/18
I wanted to do a preliminary hydro test at home, prior to taking it all the way down to AMRA Zillmere for a proper test.
So I filled it with water and carefully made sure no air was trapped in
the boiler. It was then placed on the vice and gently heated with a
torch to warm the water and expand it a little.
Well, thank fuck I did, there were several minor leaks at both tubeplates. Most were easy fixes..
..But
the front tubeplate wasn't. No matter how well it was cleaned, no
matter how much solder I added, it still leaked. The surface of the
solder where it was leaking (several places) was porous. Some Googling
revealed I had most likely overheated the solder, boiling the cadmium
right out of it, leaving a joint that was still strong, but not sealed.
The boiler code permits caulking with soft solder on a case-by-case
basis. So I caulked all joint areas on the front end with 15% silver
solder.
Subsequent low-pressure hydro testing showed no leaks.
Hopefully it'll pass testing at Zillmere and I won't have to bring it
home, fix it and take it back for another test - that's a 6-hour round
trip...
03/02/18
It was tedious, but the same dome bodies are filled and ready for
paint. I thought this was a good opportunity to try filler primer in an
aerosol can. Been meaning to try it for years.
I quite like it. Good stuff for smoothing out minor imperfections.
I'd
primed and put 2 coats of green on the sand dome tops, but there were a
few fish-eyes and hairs in the paint, so they needed some sanding back.
10/02/18
I was having issues with the timing. Specifically, the return cranks
would not stay put when I tightened the clamping screw down.
I
managed to snap both screws trying to tighten the bastards, and
subsequently destroyed one of the cranks trying to drill out it's
clamping holes for an M3 bolt.
Advice was sought in several Farcebook groups, which in hindsight is
obvious: The screws Roundhouse provides are cheap ones with formed
threads, rather than proper cut ones. There're meant to be a temporary
measure until the cranks are pinned in place. Not much use if they can't
even keep the cranks in place to time it though..
So I replaced them with M2.5 stainless hex screws. The holes needed to be slightly enlarged for these.
The split in both cranks was opened out with a dremel disk, as well as
cut further, 1.5mm past the crankpin hole. This allows the cranks to
flex more and close tighter over the crankpin.
This seems to
have done the trick, and I was able to get it consistently running on
air. Retaining pins will still be fitted once the loco's run in and the
timing's in final position.
I'm very thankful for this helpful advice.
The paint on the motion is not very durable, maybe I should've used etch primer...

15/02/18
I realised I would need a fine-tipped syringe to drain the lubricator
because I'm not using it's drain plug. Unlike my Accucraft loco, Baron,
Victoria's steam pipe passes right through the middle of the lubricator
body, rather than Baron's offset steampipe.
The brass adapter
was made on the lathe, and the tiny copper pipe I had spare was silver
soldered in. The adapter is a nice snug fit on the plastic syringe.
While it will suck steam oil, there's a lot of resistance, even when the oil is hot.
26/02/18
Well, the boiler passed it's hydro test to 100lbs pressure at Zillmere
last week, so I can finally set the timing on steam. As expected, the
loco behaves totally differently on steam than it does on air.
I
actually had to disconnect the valve gear and time each side of the
loco independently, so I KNOW neither of the cylinders are working
against each other at any time.
It's still not quite perfect, and there's issues with running in reverse, but it's good enough to start running it in.
A dart handle has also been machined from aluminium, but the handles are too short. Will sort that out soon.
27/02/18
After etch primer, filler primer and 4 coats of Brunswick Green, the sand domes are about done.
The tops of the whitemetal dome bodies need a little green where they
meet the brass tops but that can be done during final touchup. The paint
is still soft so they're now in a box to keep the dust off, and harden
for a couple weeks, before I can drill the pilot holes for the sanding
rod pins..
As for the steam dome, I can't decide weather or not
to paint it. So I'll polish it up during final assembly and see how it
looks on the loco. I can always paint it later..
After
4 bench steamings lasting an hour or so each (gas and steam turned
right down), improvements in running are already becoming evident.
Further running in, once I reposition the reverser, will even further improve the running.
That's the end of the Farcebook album on this loco - all further progress on Victoria will be posted here..